Biophilic interior design is more than just decorating with plants. It is a design approach that connects people with nature through natural light, organic materials, greenery, earthy colors, fresh airflow, and calming layouts. The goal is simple: create indoor spaces that feel healthier, more peaceful, and more connected to the outdoors.
In recent years, biophilic design has become one of the biggest interior design trends in the United States — and for good reason. People are spending more time indoors than ever before, and many homeowners want spaces that reduce stress while improving comfort and well-being.
Design publications like House Beautiful have highlighted how biophilic interiors can make homes feel more relaxing, stylish, and functional. But you do not need a luxury home or a massive renovation budget to make this style work.
In this guide, we’ll explore practical and creative ways to use biophilic interior design in everyday homes while keeping the space modern, cozy, and livable.
What Is Biophilic Interior Design?
Biophilic interior design is a style that intentionally incorporates elements of nature into indoor spaces.
The word “biophilia” literally means “love of nature.” In design, it refers to creating environments that strengthen the human connection with the natural world.
This can include:
- Indoor plants
- Natural sunlight
- Wood and stone materials
- Water features
- Earth-inspired colors
- Organic shapes and textures
- Better airflow and ventilation
- Views of outdoor spaces
The idea is not to turn your living room into a jungle. Instead, biophilic design focuses on balance and creating spaces that feel calm, grounded, and naturally inviting.
Why Biophilic Design Is So Popular Right Now
Modern life often feels overstimulating.
Screens, artificial lighting, busy schedules, and crowded cities can leave people mentally exhausted. Biophilic design offers a softer, calmer alternative.
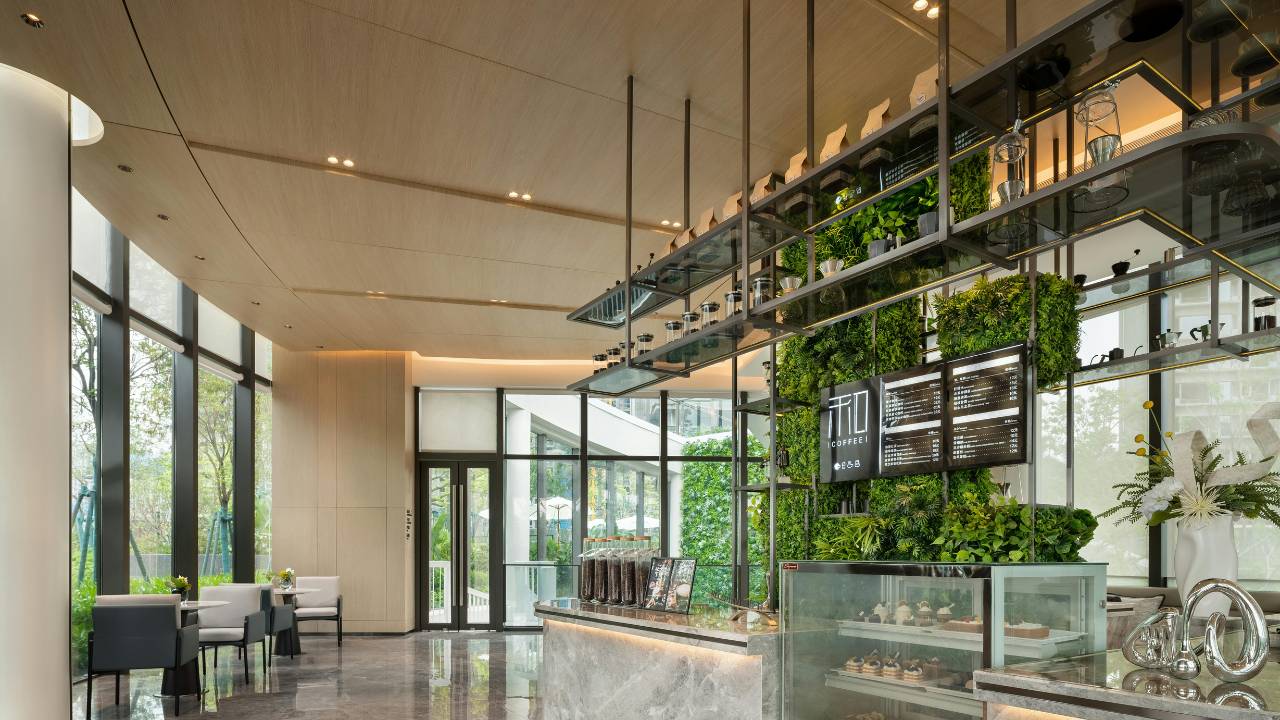
Research has shown that nature-inspired environments may help reduce stress, improve focus, and support emotional well-being. That is one reason offices, hotels, restaurants, and homes are increasingly embracing natural design concepts.
But honestly, you do not need scientific studies to feel the difference. A bright room filled with natural light, greenery, and warm wood tones simply feels better to be in.
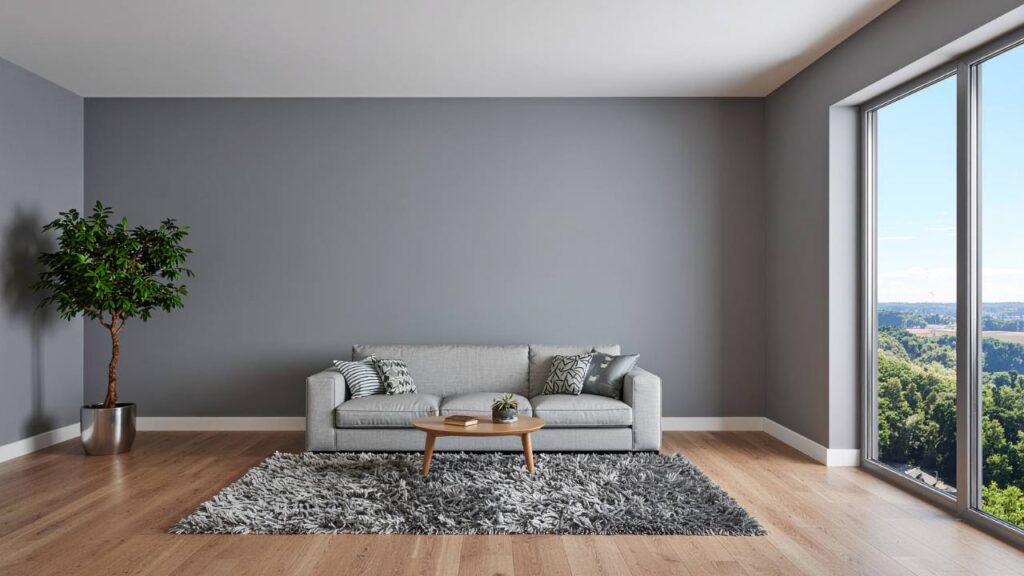
Start With Natural Light
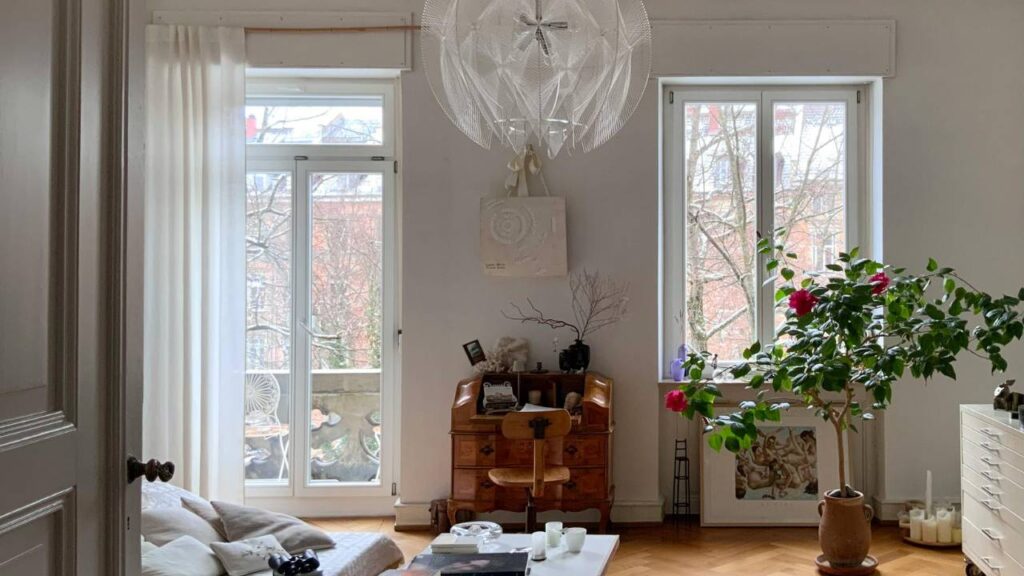
Natural light is one of the most important elements of biophilic interior design.
A dark, enclosed room rarely feels connected to nature. Maximizing sunlight instantly makes spaces feel fresher and more open.
Here are a few easy ways to improve natural light indoors:
- Use sheer curtains instead of heavy drapes
- Keep windows uncluttered
- Add mirrors to reflect sunlight
- Choose lighter wall colors
- Rearrange furniture that blocks windows
- Install larger windows if renovating
Even small adjustments can dramatically change the mood of a room.
Personally, I think natural light is the fastest way to make a home feel expensive and peaceful at the same time.
Decorate With Indoor Plants
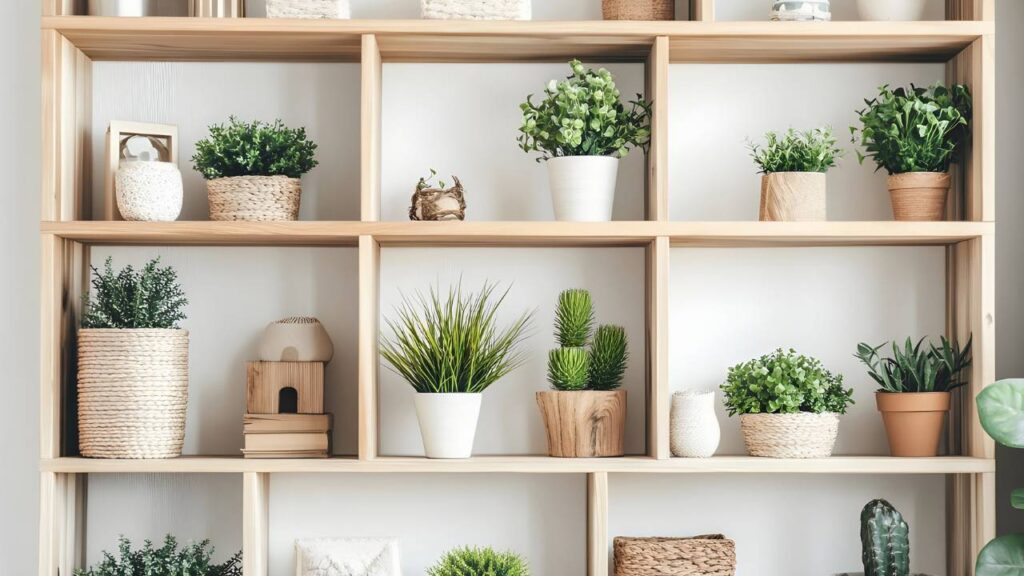
Plants are often the first thing people think about when they hear “biophilic design” — and yes, they matter.
Indoor plants bring movement, color, texture, and life into a space. They also soften hard architectural lines and help rooms feel more organic.
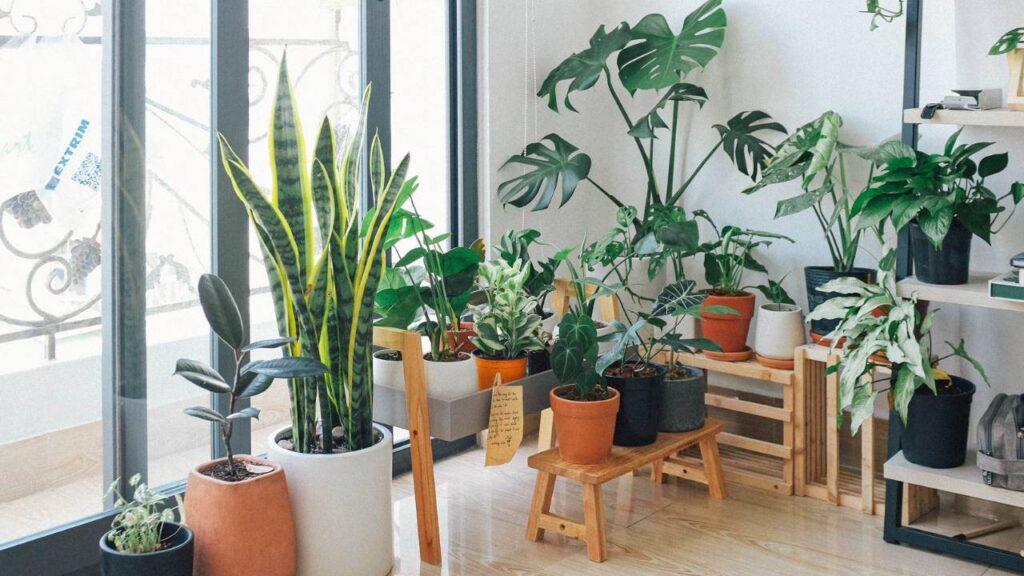
Some of the best indoor plants for beginners include:
Snake Plants
Low-maintenance and stylish, snake plants work well in bedrooms and living rooms.
Pothos
Pothos vines are incredibly easy to grow and look beautiful on shelves or hanging planters.
Monstera Plants
Monstera leaves instantly create a tropical, modern look.
Peace Lilies
These plants add elegance while thriving in lower-light environments.
Rubber Plants
Rubber plants work wonderfully as statement greenery in corners or entryways.
If you are not great at keeping plants alive, do not panic. Even a few high-quality faux plants can still help create a softer, nature-inspired atmosphere.
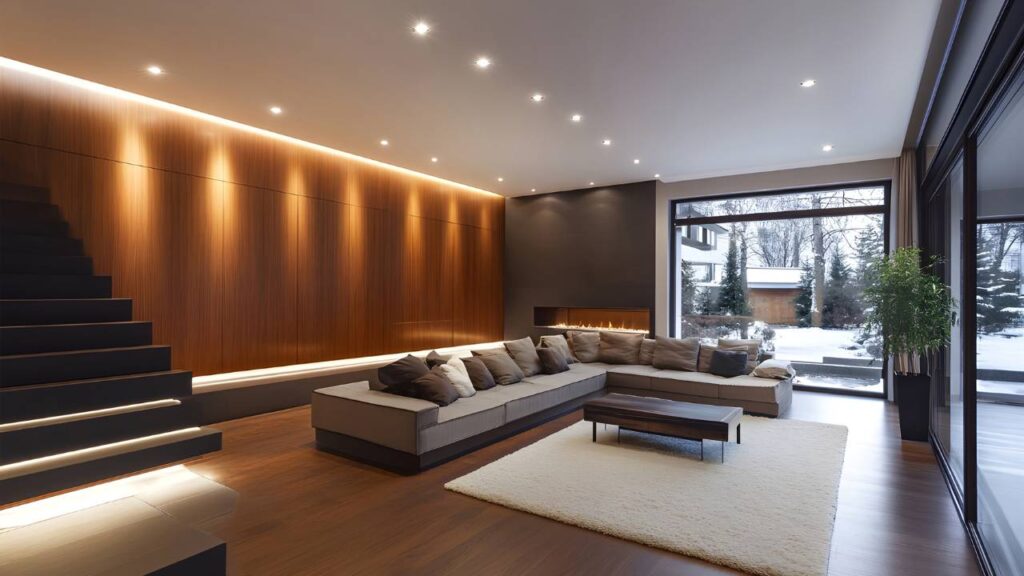
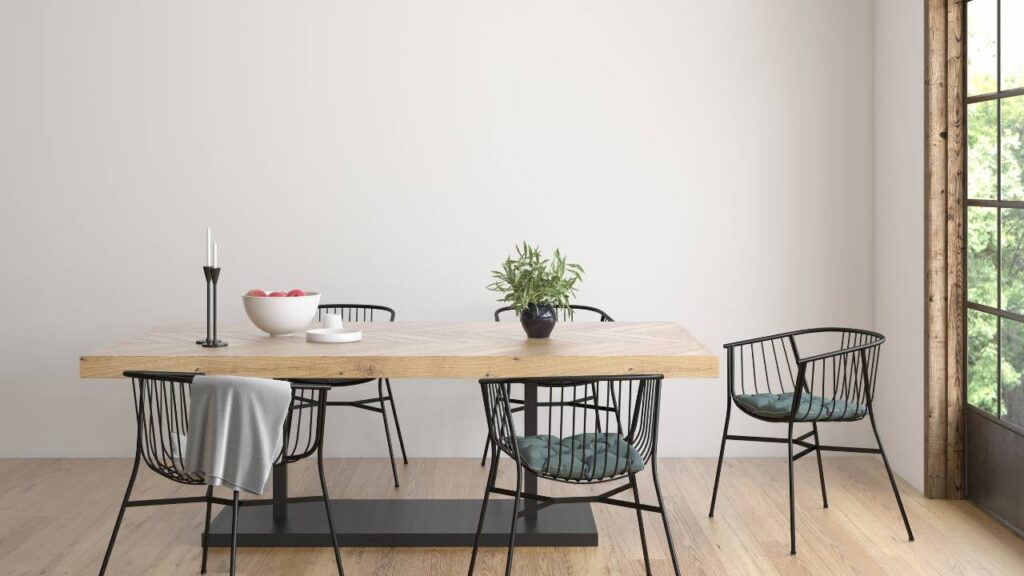
Use Natural Materials Throughout the Home
Biophilic interiors often feature materials that feel raw, textured, and authentic.
Instead of glossy synthetic finishes everywhere, focus on natural surfaces like:
- Wood
- Stone
- Rattan
- Bamboo
- Linen
- Cotton
- Clay
- Cork
- Leather
- Jute
These materials create warmth and tactile comfort.
For example, a wooden dining table paired with linen chairs instantly feels more grounded and inviting than ultra-glossy plastic furniture.
One thing I love about natural materials is that they age beautifully. Small imperfections often make them feel even more charming over time.
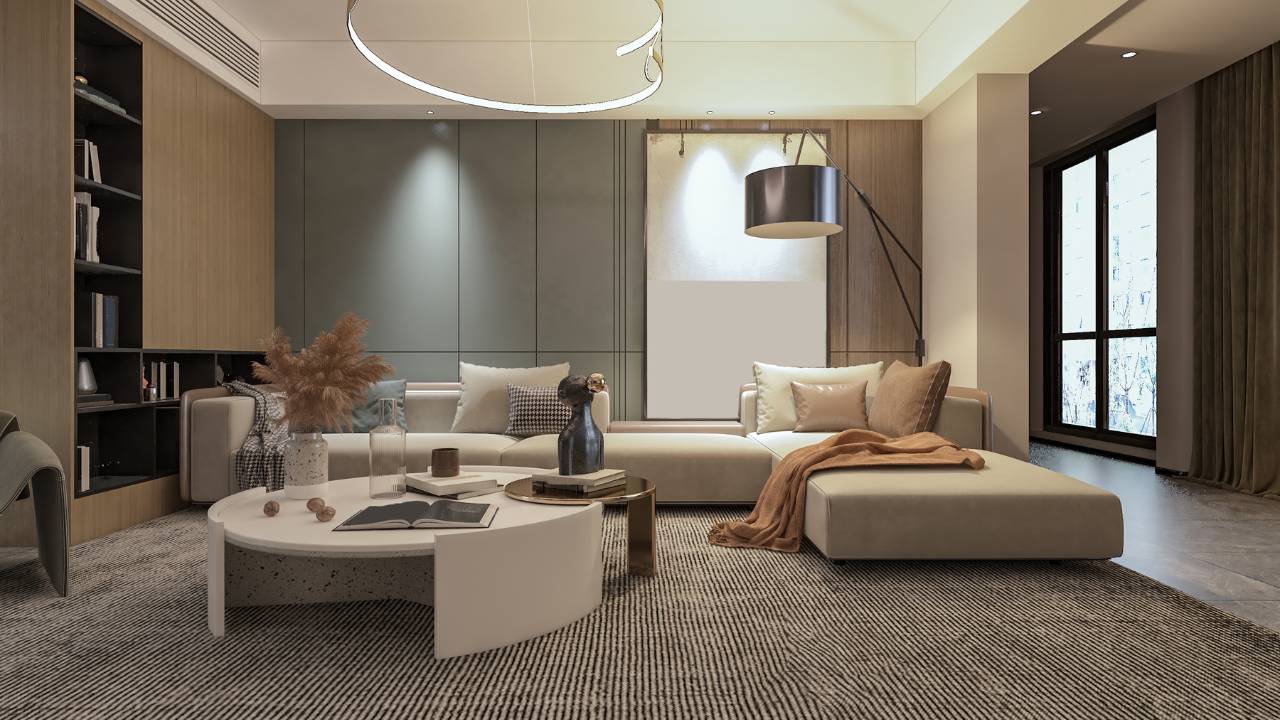
Choose Earth-Inspired Colors
Color plays a huge role in biophilic interior design.
Nature-inspired palettes help create calming, balanced interiors that feel connected to the outdoors.
Popular biophilic color choices include:
- Sage green
- Olive green
- Warm beige
- Sand tones
- Terracotta
- Soft browns
- Clay colors
- Muted blues
- Creamy whites
These shades work beautifully together because they naturally exist in outdoor environments.
You do not need to paint every wall green to embrace biophilic design. Even small accents like pillows, rugs, artwork, or ceramics can introduce earthy tones subtly.
Add Organic Shapes and Curves
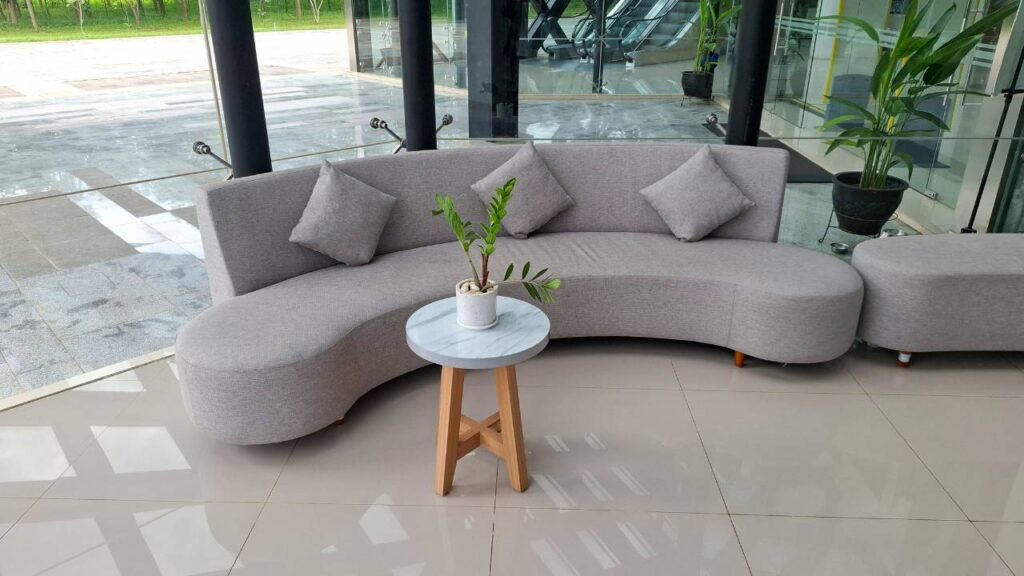
Nature rarely creates perfectly straight lines.
That is why biophilic interiors often include softer, more organic shapes rather than harsh geometric designs.
You can incorporate this through:
- Rounded mirrors
- Curved sofas
- Arched doorways
- Circular coffee tables
- Flowing furniture silhouettes
- Handmade ceramics
- Wavy decor accents
Curved shapes create a more relaxed and approachable atmosphere.
This trend has become especially popular in modern interior design because it softens minimalist spaces without adding clutter.
Create Better Airflow and Ventilation
Fresh air is another important aspect of biophilic living.
Whenever possible, open windows regularly to improve airflow and bring outdoor freshness inside.
You can also improve indoor air quality by:
- Using air-purifying plants
- Avoiding overcrowded rooms
- Choosing breathable fabrics
- Using ceiling fans
- Reducing heavy synthetic materials
A home that feels fresh physically often feels calmer mentally too.
Bring Nature Into Every Room
One mistake people make is limiting biophilic design to the living room.
In reality, every room can benefit from natural elements.
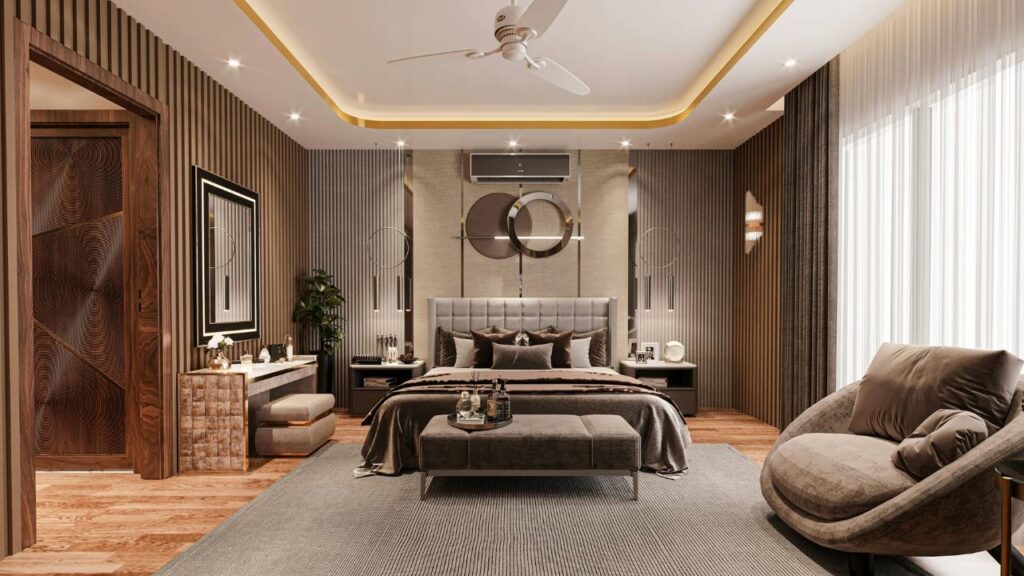
Biophilic Bedroom Ideas
Bedrooms should feel peaceful and restorative.
Try:
- Linen bedding
- Wooden nightstands
- Soft earthy tones
- Minimal clutter
- Nature-inspired artwork
- Large plants near windows
Biophilic Bathroom Ideas
Bathrooms are perfect for spa-inspired natural design.
Add:
- Stone textures
- Bamboo accessories
- Eucalyptus bundles
- Soft lighting
- Wooden shelving
- Neutral towels
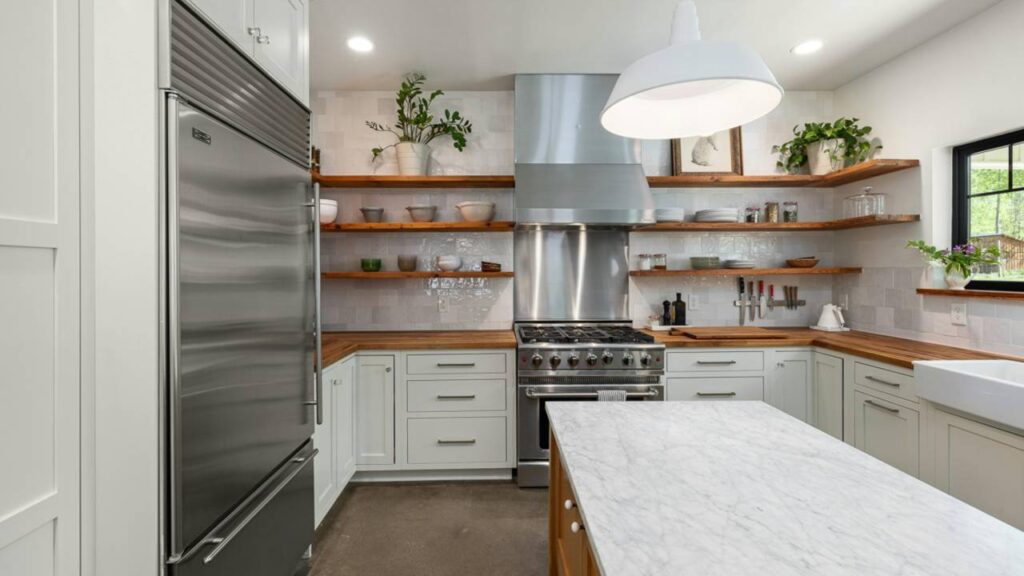
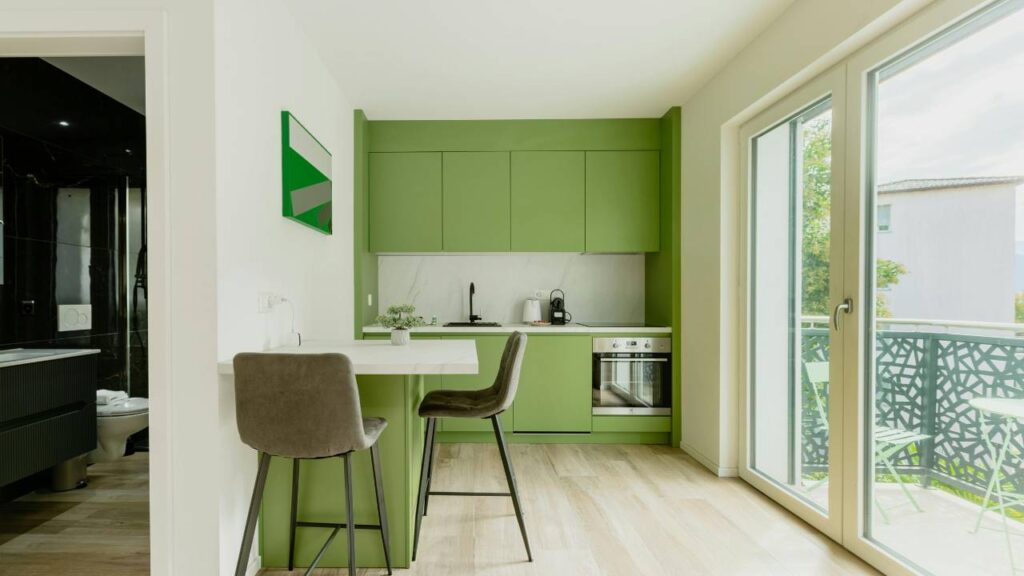
Biophilic Kitchen Ideas
Kitchens often feel overly sterile, so natural elements help warm them up.
Consider:
- Wooden cutting boards
- Herb gardens
- Open wood shelving
- Ceramic dishes
- Natural stone countertops
- Earth-toned decor
Use Water Elements Carefully
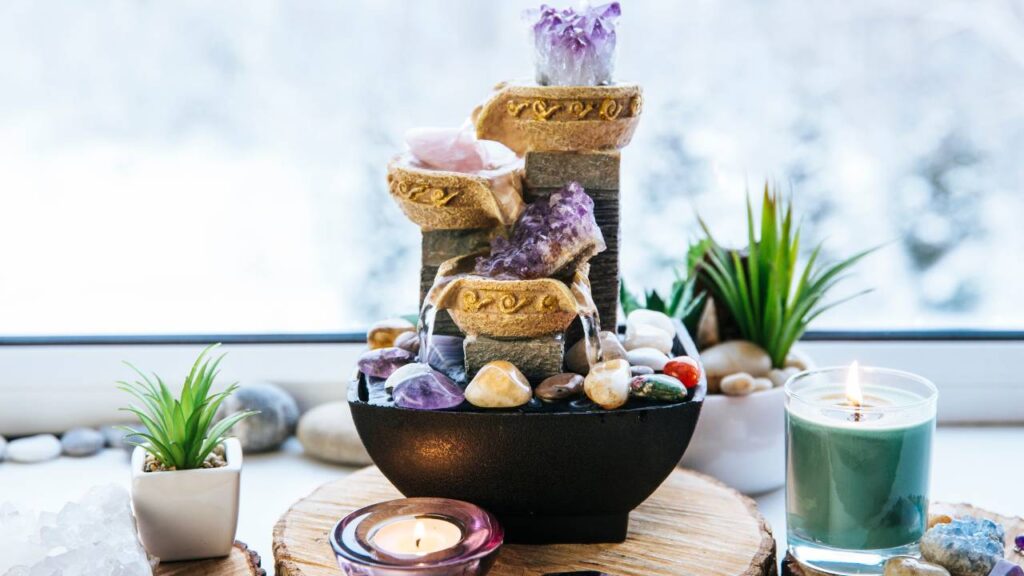
Water is another core element of nature-inspired design.
You do not need an indoor waterfall to embrace this concept.
Small additions can work beautifully, including:
- Tabletop fountains
- Aquariums
- Water-inspired artwork
- Soft blue accents
- Gentle sound machines
The goal is to create a calming sensory experience rather than overwhelming the room.
Reduce Visual Clutter
Biophilic spaces often feel calm because they are intentional.
Too much clutter disrupts that peaceful connection with nature.
Before buying new decor, simplify what you already have.
Focus on:
- Clean surfaces
- Organized shelves
- Open walkways
- Purposeful decor choices
- Comfortable layouts
Nature itself rarely feels chaotic in the way cluttered homes sometimes do.
A simpler room usually feels more breathable and relaxing.
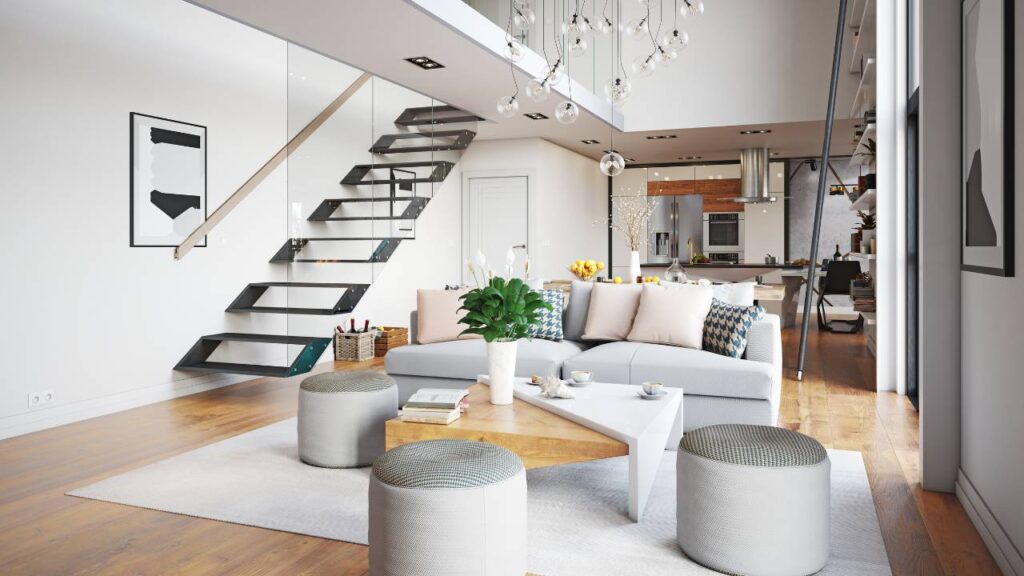
Mix Modern Style With Natural Warmth
One reason biophilic interior design works so well is because it blends beautifully with other styles.
You can combine it with:
- Scandinavian design
- Modern minimalism
- Japandi interiors
- Rustic decor
- Contemporary homes
- Coastal aesthetics
For example, a sleek modern living room can feel far more welcoming when layered with wood textures, greenery, and soft natural fabrics.
Biophilic design is not about abandoning modern style — it is about humanizing it.
Budget-Friendly Biophilic Design Ideas
You do not need an expensive renovation to make your home feel more connected to nature.
Here are some affordable ideas:
- Add a few indoor plants
- Rearrange furniture near windows
- Use woven baskets for storage
- Swap synthetic fabrics for cotton or linen
- Decorate with branches or dried flowers
- Add earthy-colored pillows
- Use wooden trays and bowls
- Display nature photography
Sometimes even tiny changes create a surprisingly big impact.
Common Mistakes to Avoid
While biophilic design is flexible, there are a few common mistakes people make.
Overcrowding With Plants
Too many plants can make rooms feel messy rather than peaceful.
Ignoring Lighting
Plants and natural materials lose their impact in poorly lit spaces.
Using Too Many Artificial Materials
Plastic-heavy decor often clashes with the calming aesthetic of biophilic interiors.
Following Trends Too Closely
The best biophilic spaces feel personal and livable — not staged for social media.
Final Thoughts
Biophilic interior design is not just a trend. It reflects a growing desire for homes that feel healthier, calmer, and more emotionally comforting.
The beauty of this design style is that it works in almost any home. You do not need a giant house, expensive furniture, or a professional designer to create a nature-inspired space. A few thoughtful choices — better lighting, natural textures, greenery, and calming colors — can completely shift the feeling of a room.
At its core, biophilic design reminds us that humans naturally crave connection with the outdoors, even when we are inside.
Now here’s a simple question for you: What natural element would make your home feel more peaceful right now?